- We get information about the amount of major nutrients available in the soil and the amount of fertilizer to be given to the crop based on the recommendation of the Agricultural University.
- Helps to maintain soil health by avoiding unnecessary use of fertilizers so it reduces production costs.
- Depending on the type of fertilizer available in the market and the quantity of nutrients.The amount of fertilizer to be applied can be decided.
How to take a soil sample?
- The benefit of testing depends on proper soil sampling.
- Samples should be taken by dividing the land according to its type.
- Samples should be taken from the main farm land at a distance of 10 feet from the shed, manure storage area, landfill, farm dam.
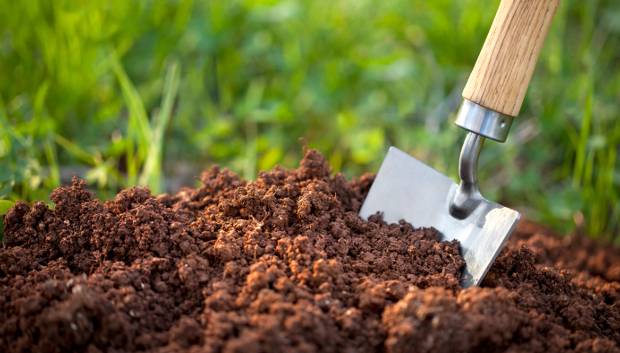
- While taking the sample, set aside the above loose soil, remove 8 to 10 pits of one foot V size, collect the soil and divide it into 4 parts and remove 2 parts, finally take half to 1 kg of soil as sample.
- Soil sampling is generally required after harvesting but before plowing. If there is crop in the field, sample should be taken between two rows of crops. If chemical fertilizer / planting is applied to the crop, the sample should be taken only after two months.
- Samples of different types of land / area should not be mixed together. Also, empty bags of chemical fertilizers / plantings should not be used for sampling.
- The soil sample should be dried in the shade.
- The soil sample should be packed in a clean cloth or plastic bag and sent for testing.
मातीचा नमुना कसा घ्यावा?
- परिक्षणाचा फायदा हा सर्वस्वी मातीचा नमुना योग्य पद्धतीने घेणे यावर अवलंबून आहे.
- जमिनीच्या प्रकारानुसार तिची विभागणी करुन नमुणे घ्यावेत.
- गोठा, खत साठवणूकीची जागा, कचराकुंडी, शेतीचा बांध याठिकाणापासून दहा फुट दूर मुख्य शेतजमिनीतील नमूना घ्यावा.
- नमूना घेताना वरील मोकळी माती बाजूला सारुन एक फूट व्ही (V) आकाराचे ८ ते १० खड्डे काढून त्यातील माती एकत्र करून त्याचे ४ भाग करावेत व २ भाग काढून टाकावेत, शेवटी अर्धा ते १ किलो माती नमूना म्हणून घ्यावी.
- मातीचा नमूना सर्वसाधारणपणे पिकांची कापणी झाल्यानंतर परंतु नांगरणीपुर्वी घेणे गरजेचे आहे. शेतामध्ये पीक असल्यास पिकांच्या दोन ओळींमधील नमूना घ्यावा. पिकाला रासायनिक खते/ लागवड घातली असल्यास नमूना दोन महिन्यानंतरच घ्यावा.
- निरनिराळ्या प्रकारच्या जमिनीचे/ क्षेत्रांचे नमूने एकत्र मिसळू नयेत. तसेच रासायनिक खतांच्या/लागवडीच्या रिकाम्या पिशव्या नमूना घेण्यासाठी वापरु नयेत.
- मातीचा नमूना सावलीमध्ये वाळवावा.
- मातीचा नमूना स्वच्छ कापडी अथवा प्लास्टीक पिशवीत भरुन तपासणीस पाठवावा.
Factors to be examined
- Basic Examination: - Ph. Ec (electrical conductivity)
- Main Ingredients: - N.P.K.O.C (Nitrogen, Phosphorus, Potash, Organic Carbon)
- Secondary nutrients: - NaCaMg. CaCo, (sodium, calcium, magnesium, free lime)
- Micronutrients: Cu, Mn. Zn, Fe (copper, mars, zinc, iron)